Product Support & Service
How do I find the right size and fit?
Here you will find the perfect fit for every style. All solutions regarding clothing sizes, model sizes, and tips for different body types – all in one place.
Outdoor shoes
Outdoor shoes. Designed to get dirty while keeping your feet dry, comfortable, and clean. No matter how challenging your adventure becomes. But without the right care, they may not take you as far as you hoped. That's why our experts show you step by step how to optimally care for your outdoor shoes. Have fun!
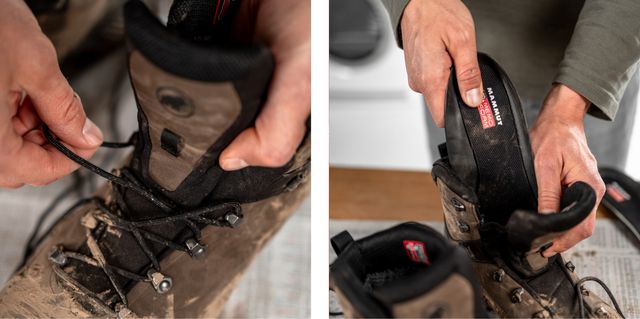
Step 1 - Remove laces, remove insole
In our example, we use a "typical" outdoor shoe that has two removable parts: the laces and the insole. Take out the laces and the insole and wash them at 30°C in the washing machine. We recommend tying the ends of the laces together so they don't get tangled and lost in the sides of the washing machine. Simply hang them up to dry. So far, so good.
Don't forget: Only laces and insole go in the washing machine. You clean the shoe itself by hand. If the insole and/or laces are too worn out, you can get replacements at the cobbler or your specialty store.
Step 2 - Brush the shoe and knock off dirt
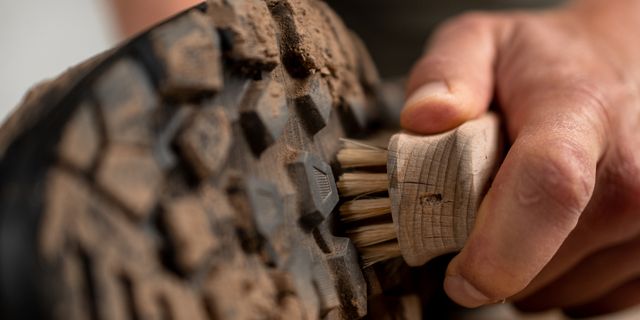
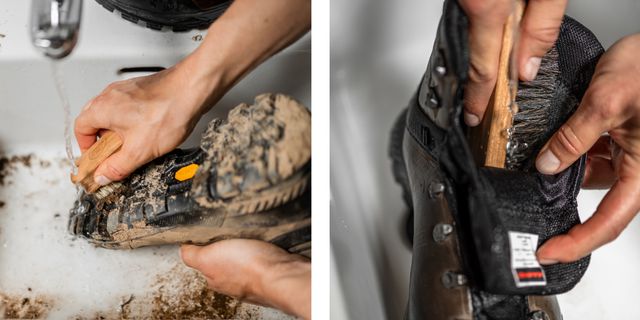
Cleaning a shoe is manual work. You need a shoe brush and warm water. Use the wet brush to remove visible dirt and dust. Knock the shoes together repeatedly to loosen hidden dirt – like football players after a match. Then clean the shoe under running water. Don't forget to clean the soles as well.
Step 3 - Clean the inside with lukewarm water
Once the outside of the shoes is clean, clean the inside in the same way. Remove accumulated dirt under lukewarm water and knock the shoe downwards. Many think it damages the lining to clean the shoe this way. On the contrary: it is the best method to avoid dirt accumulation that wears out the shoe from the inside over time. In case of strong odors and extreme dirt, you can wash the inside of the shoe with water and a mild detergent (sports detergent). Then rinse thoroughly to remove all residues.
Step 4 - Dry with newspaper
Now your shoes probably look fantastic but are still damp (especially inside). The best way to dry outdoor shoes is to stuff them with newspaper and lay them down with the open side facing down. Change the newspaper after a few hours to speed up the process. (By the way: If you store the shoes after use, newspaper helps prevent mold formation.)
Note: Do not place the shoes on the heater or in the sun to speed up drying. Wait for them to dry naturally. If your shoes are made of leather, they can become brittle and crack. Other materials can be reactivated by high temperatures: collapsing toe caps and painful deformations can be the result.

Step 5 - Waterproofing
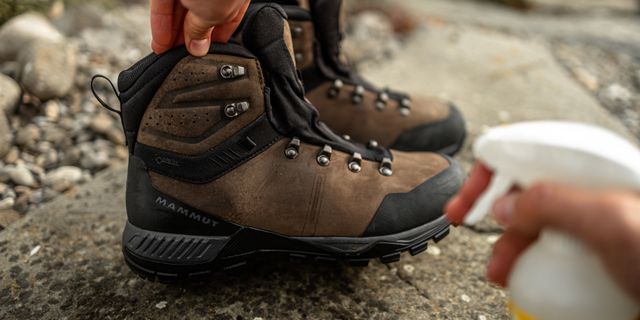
Always waterproof the shoe outdoors and follow the instructions on the waterproofing product. We recommend an eco-friendly water-based spray (available at outdoor specialty stores), and you should note the following: The optimal time to waterproof the shoes is a few hours after washing, before the shoes are completely dry. For many materials, the pores are still open at that time, allowing the waterproofing product to penetrate better. Use an eco-friendly waterproofing spray to make the shoes waterproof (available at outdoor specialty stores). Always apply it outdoors and follow the instructions. Then let the shoes dry for 24 hours.
Step 6 - Waxing – it's worth it
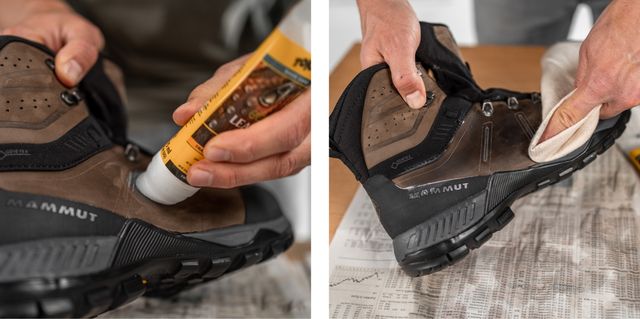
An optional step that we highly recommend is waxing outdoor shoes if they are made of leather. Always read the instructions first. Use a sponge or cloth and apply the wax generously, including on the tongue. GORE-TEX® shoes and all models with textile lining simply need to be waterproofed more often. By the way: Wax changes the color and texture of the shoes, making them darker and shinier. This is beneficial for the shoe. You can re-roughen suede or nubuck with light sandpaper.
Done! Put the laces and insole back in – your outdoor shoes are thoroughly cleaned and ready for new adventures.